Learning how to use the selection tool, such as How to deselect in Photoshop, is imperative to hone in your skills and become proficient with Photoshop. Photoshop, as you may already know, isn’t like most applications: it’s not a simple app like your favorite music or video player. It’s a powerful and complex tool that’s used to create and edit photos. With Photoshop you can take a photo, and then manipulate it in myriad ways, like cropping, sharpening, adjusting the contrast and color, and then adding effects like blur or glows. When you’re done, you end up with a photo that is perfect for your purposes, and that you can share on Facebook or Instagram, or put up on your website. Due to it’s complex nature, simple processes may not always be that obvious. Here we will teach you a few different methods on how to deselect in Photoshop.
How to Deselect in Photoshop with a Keyboard
Step 1: Click the window where the selection in question is located to place that window in focus.
Step 2: Press and hold the “CTRL” key on your keyboard.
Step 3: Tap the “D” key on your keyboard with the “CTRL” key still pressed.
This will deselect all selected areas in the focused window.
How to Deselect in Photoshop with a Mouse
Step 1: Click the window where the selection in question is located to place that window in focus.
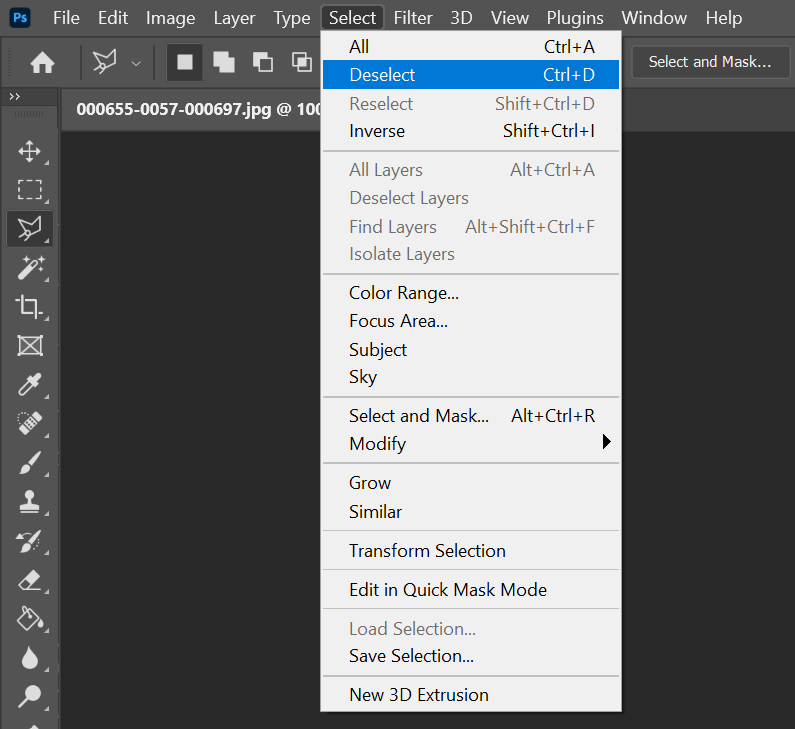
Step 2: On the Photoshop main menu along the top of your screen, click on “Select”, to open the drop down menu.
Step 3: Click on “Deselect” from the drop down menu.
An Even Simpler Mouse Method
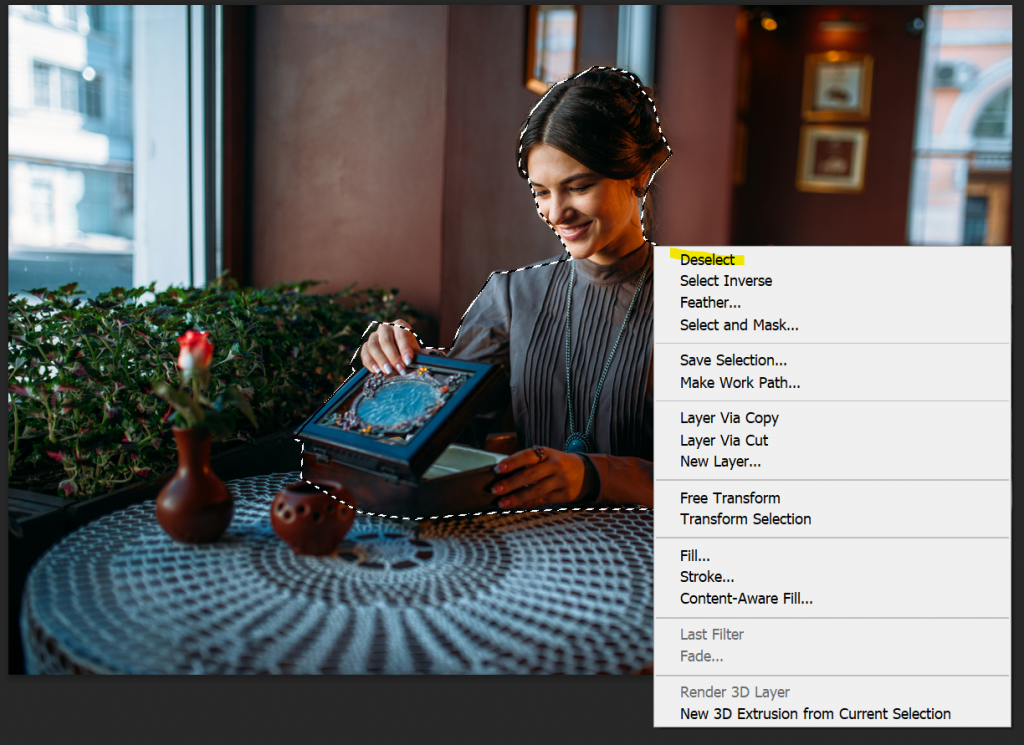
In later versions, you can right click your selection directly, to bring up a menu, and simply click “Deselect”.
In conclusion, when it comes to photo editing software, there’s no better choice than Adobe Photoshop. With a vast array of tools and the ability to create virtually any image you can imagine, you can easily edit your photos or create stunning artwork.